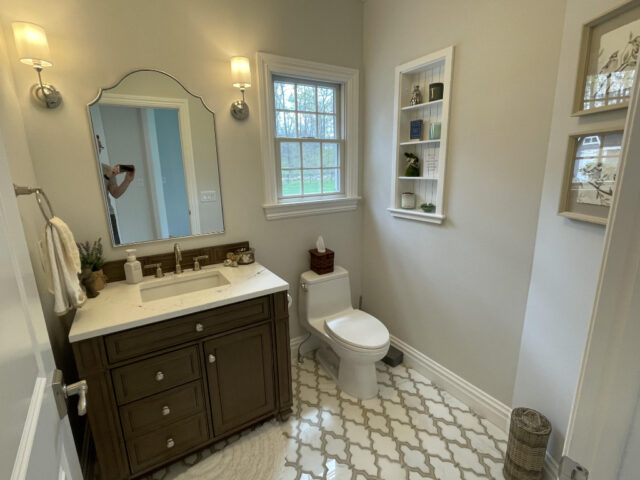
Retiling a bathroom can breathe new life into a tired space, enhancing both aesthetics and functionality. Whether you’re updating worn-out tiles or simply looking to refresh the look of your bathroom, this guide from Prominent Builders will walk you through the essential steps of a successful retiling project.
1. Why Retile Your Bathroom?
Retiling offers numerous benefits, including:
- Aesthetic Improvement: Fresh tiles can elevate the overall design of your bathroom.
- Increased Value: An updated bathroom is a significant selling point for potential buyers.
- Durability: Modern tiles are often more resilient and easier to maintain than older materials.
- Water Resistance: Properly installed tiles can help prevent water damage.
2. Planning Your Project
Before diving into the retiling process, careful planning is crucial. Here are some key steps:
- Budgeting: Determine how much you’re willing to spend. Include costs for materials, tools, and labor if you’re hiring professionals.
- Choosing Tiles: Consider the style and material. Popular options include ceramic, porcelain, glass, and natural stone. Think about color, texture, and size to match your vision.
- Design Layout: Visualize how you want the tiles arranged. Consider creating a focal point with a feature wall or pattern.
3. Preparing for the Project
Preparation is essential for a successful tiling job:
- Gather Tools and Materials: Essential tools include a tile cutter, trowel, grout float, and level. Don’t forget adhesive, grout, and spacers.
- Remove Old Tiles: Carefully remove existing tiles, ensuring the underlying surface is intact. Repair any damaged areas before proceeding.
- Clean the Surface: Ensure the substrate is clean and free from dust or debris to promote good adhesion.
4. Installing the New Tiles
Now for the fun part! Follow these steps for a smooth installation:
- Apply Adhesive: Using a trowel, spread adhesive on a small section of the wall or floor, working in manageable areas.
- Lay the Tiles: Start at the center or a focal point and work your way outward. Use spacers between tiles to ensure even spacing.
- Cut Tiles as Needed: Use a tile cutter for edges and corners, ensuring a snug fit.
5. Grouting and Finishing Touches
Once the tiles are installed, it’s time to grout:
- Allow Adhesive to Cure: Let the adhesive set for at least 24 hours.
- Apply Grout: Remove spacers and fill the gaps with grout using a float. Wipe off excess grout with a damp sponge.
- Seal the Grout: Consider applying a grout sealer to protect against moisture and stains.
6. Final Touches
- Clean the Tiles: After the grout has cured, clean the tiles to remove any haze.
- Reinstall Fixtures: Put back any fixtures you removed, such as towel bars, mirrors, or light fixtures.
- Enjoy Your New Bathroom: Step back and admire your work!
Retiling your bathroom is an excellent way to enhance its functionality and visual appeal. Whether you choose to tackle the project yourself or hire professionals, a fresh tile installation can transform your space. For expert help and guidance, consider reaching out to Prominent Builders, where our team is dedicated to bringing your vision to life.
If you’re ready to start your bathroom transformation or need assistance with your retiling project, contact Prominent Builders today! Our team of experienced builders is here to help you every step of the way.

